Go directly to the table of contents
The „Drop In“ is one of the most essential basics in the skatepark, no skater can avoid it when it comes to riding down a ramp or pipe.
There are alternative techniques to enter a ramp, such as the „Sit In“, the „Roll In“ or the „Jump In“.
However, the classic „Drop In“ remains the first and best choice in many situations.
A Drop In requires very little space, quickly provides a solid base speed and is efficient to execute.
If you don’t yet feel confident performing the Drop In, you’ve come to the right place. In our blog post, we show you step by step how it works – either through a detailed video or with photos, depending on your personal preference.
The Drop In is the ideal trick to ride down any pipe or ramp with control.
If the Drop In still intimidates you or you don’t feel quite ready for it yet, feel free to have a look at the „Sit In“, a particularly beginner-friendly alternative.
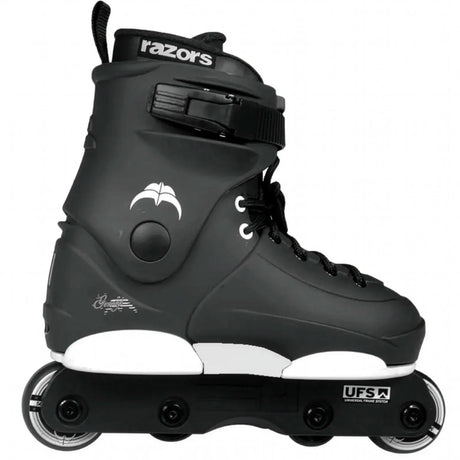
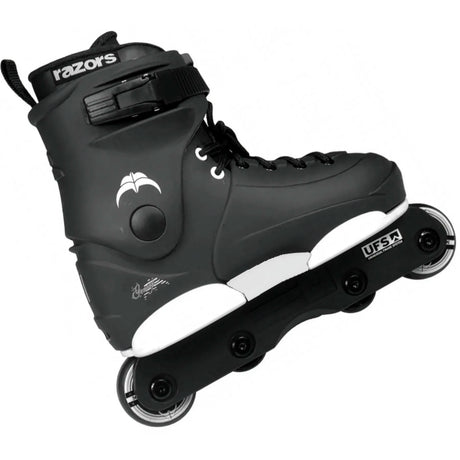
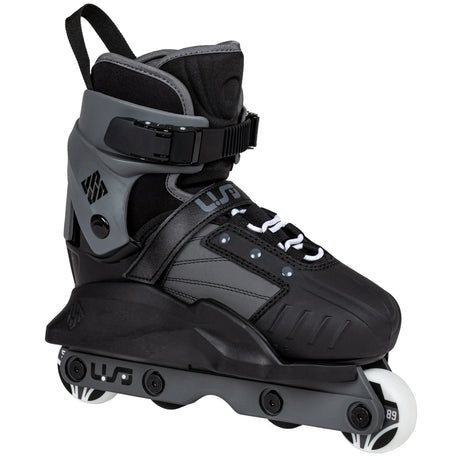
A Drop In can be done with regular fitness inline skates, but this is not recommended.
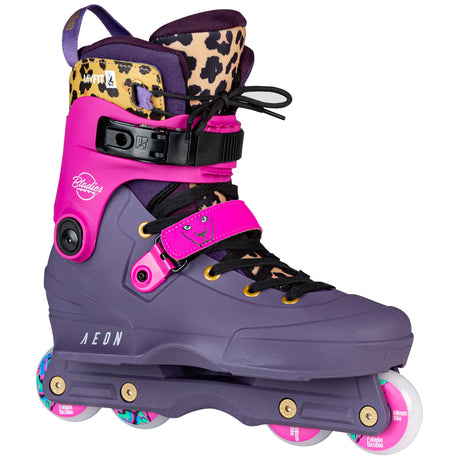
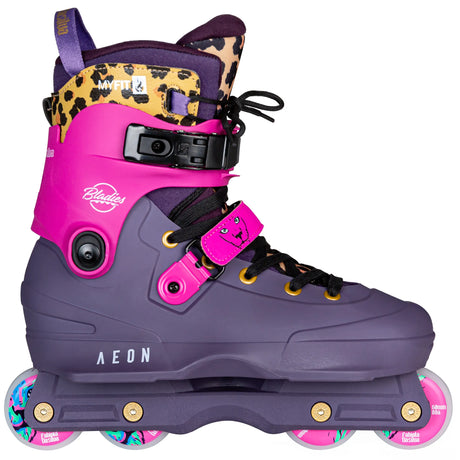
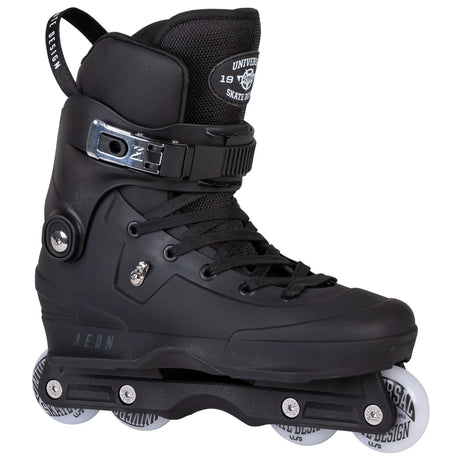
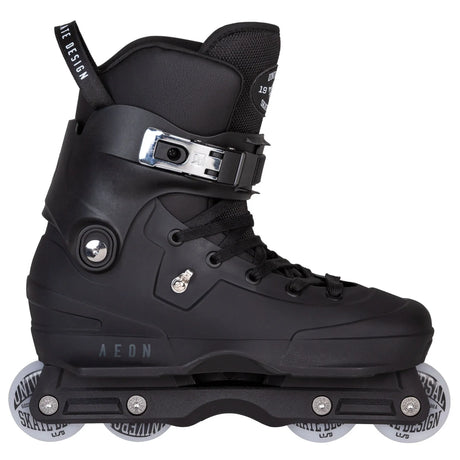
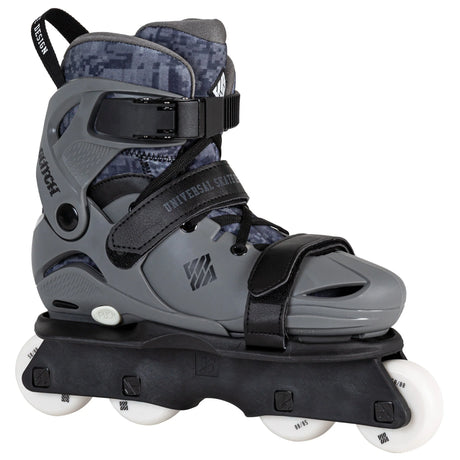
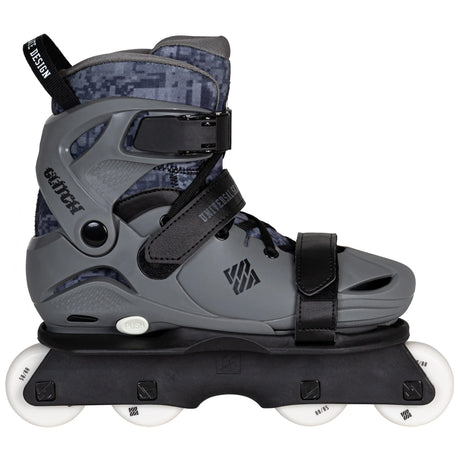
Urban and aggressive inline skates provide proper support for your feet and are therefore an absolute must in the skatepark.
Drop In – SkaMiDan trick clip
We’ve also prepared a trick clip for the Drop In. This allows you not only to get a first impression of the trick, but also to learn how to name it correctly or even try it yourself without any instructions and learn it autodidactically.
In this trick clip, we show the Drop In from different perspectives, both in normal speed and in slow motion.
Table of contents
- Video Tutorial
- Recommended protective gear
- Body position and edge control
- Maintaining balance on ramps – forward up and backward down
- Banks & Pipes – walking up sideways and riding down
- Riding up, standing sideways and riding down
- The final Drop In – focus and execution
- Behind the scenes – shooting day and impressions
The Drop In – practical in a wide variety of situations in the skatepark
1. Drop In – detailed video tutorial
In our detailed video tutorial, you will learn the Drop In step by step. We start with the very basics, such as proper body posture, practicing how to gently roll over ramp edges, riding up ramps forward, as well as riding down ramps and pipes both forward and backward.
We also cover many other important intermediate steps that help you safely master the final Drop In.
At the end, we of course show you the complete Drop In and explain how to perform it cleanly and with full control.
In our Drop-In tutorial, we guide you through the trick step by step so that you can learn it easily, safely, and with confidence.
This video is a placeholder. The detailed video tutorial will be added soon.
2. Recommended protective gear
For skating in the skatepark, we generally recommend wearing suitable protective gear.
The Drop In is not a stall or a grind where you can easily hit your shins, the risk of that is practically zero. Nevertheless, there is always a chance of falling on your head, joints, or backside.
If you really don’t like wearing protective gear, we at least strongly recommend using a skate helmet. It protects you from serious head injuries in case of an accident and should be a natural part of every session.
 Knee and elbow pads – Ennui AVE
The right protective gear not only keeps you safe from injuries but also boosts your confidence and takes away some of the fear.
For the Drop In, we strongly recommend wearing the following protective pads:
- Helmet (essential)
- Wrist guards
- Elbow pads
- Knee pads
- Protective trousers/Crash pants
These are exactly the same protectors we use ourselves in our „How to Drop In“ tutorial.
3. Body position and edge control
The correct body posture is essential both for the Drop In and for skating in the skatepark in general — it’s the be-all and end-all.
 Daniel Lott – Skatepark Weil am Rhein
If we don’t stand correctly or don’t know how to shift our body weight properly, falls are inevitable.
That’s why we first take a look at the correct body posture for the Drop In.
3.1 The optimal body position
The optimal body posture for the skatepark and also for the Drop In is the staggered stance you have already learned.
We also call it Proper Posture, or more simply: the skating stance.
 Body posture in the skate park
This stance means that we position our skates in a slight staggered stance and keep this position as consistently as possible. While doing so, we pay attention to the following points:
- One skate is always placed slightly in front of the other. Remember: the front skate should be positioned at least so far forward that its back wheel is level with the front wheel of the rear skate, or even a bit farther forward.
- When bending our knees, we do not push our butt backward. Instead, we bend our legs and push the knees forward until they are positioned directly above our toes. When we look down, we should no longer be able to see our toes.
- We lean our shoulders slightly forward so that our arms hang down roughly at the height of the front knee.
- Important: Our butt always stays above our heels. If it shifts backward, we must correct our posture. The butt does not move backward, the center of gravity stays centered, slightly forward, never backward.
- From the side, our skates should stand about hip-width apart. As soon as the legs point outward or angle away, our feet are positioned too far apart sideways.
3.2 Weight transfer when skating on edges
The correct body posture is only useful if we are able to maintain it consistently.
Especially in the beginning, this becomes particularly difficult at the moment we roll over the edge of a ramp or bank.
With “banks” we mean the slanted descent or ascent surfaces of skate ramps and funboxes (not pipes).
The steeper a bank is, the harder it becomes to keep the skating stance or staggered position stable.
However, there is a simple trick to make this easier: the correct weight distribution in your feet is the key.
Once we master this, skating on banks, and especially rolling over edges, quickly becomes effortless.
By „edges“ in this context, we mean the transition from the flat ground up onto the ramp.
 Skating over edges – Banks
When we ride up onto a bank, we shift the weight in our feet backward and slightly lift the toes or the front of the skates.
In the photos shown here, this is exaggerated for demonstration purposes.
In reality, we only take a bit of weight off the front wheels or the forefoot and lift the skates just enough that, when rolling over the edge, it looks as if we are not actually lifting them at all.
 Skating over edges – Banks
It’s important that our center of gravity still remains forward. We never lean backward. If we fall, we want to fall forward onto our pads, not backward.
This may sound more complicated than it is, and it often only works well after a bit of practice.
But once you try this technique a few times or over one or two sessions, you’ll quickly be able to execute it safely.
The exact same principle applies when riding down ramps and banks.
The steeper the bank is, the more we need to take weight off the front foot when rolling over the edge, or briefly lift the front wheels slightly.
 Skating over edges – Banks
The better we master this technique, the smoother the transition becomes, and the better we can maintain our speed.
4. Maintaining balance on ramps – forward up and backward down
Before riding down a ramp, bank, or pipe, we recommend first being able to ride up it safely.
By learning the movement step by step, we not only avoid many unnecessary falls, but also develop the optimal technique for safe execution, and therefore for smooth, controlled skating in the skatepark.
 Forward up, backward down
Although we ride down forward during the Drop In, the following exercise forms the foundation for safely riding over edges in the skatepark, and therefore also for the Drop In.
The next exercise consists of riding a short distance up any ramp or bank, ideally a low one at first, and then riding back down again.
Ideally, we begin by standing in front of the chosen ramp and alternately pushing one skate over the edge to get familiar with the transition.
 Testing the edges of banks
 Testing the edges of banks
Next, we take a small amount of speed so that we ride a short distance up the ramp. It is completely sufficient if we just barely roll both skates over the edge and then let ourselves roll back down.
We repeat this exercise until we are able to maintain the staggered stance / skating stance steadily while rolling over the edge. Our feet must never slide next to each other, the staggered stance must be maintained consistently.
 Skate forwards up, skate backwards down.
Once this works reliably, we gradually increase the speed and, with a bit more momentum, let ourselves roll a little farther up the ramp forward and back down again in reverse.
This way, we get used to higher speeds and automatically learn how to brake in a controlled manner while riding backward.
 Skate forwards up, skate backwards down.
When riding backward down the ramp, we practice looking directly over the shoulder in the direction of travel.
The lower we bend our knees, the easier it becomes to look over the shoulder.
5. Banks & Pipes – walking up sideways and riding down
Once riding a little way up and rolling back down backward works for you, we recommend a few additional exercises to help you gain even more confidence on your skates and on ramps.
The better your control while skating, the easier it will be to catch yourself in all kinds of situations.
You’ll also improve your reaction time and learn to automatically rebalance yourself if you briefly lose your balance.
If you work through the following exercises step by step, there’s a very good chance you won’t fall on your first Drop In.
You’ll nail it right away because your body has already internalized the individual movement patterns and the automatic balancing.
5.1 Walking up and riding down forward
The next exercise consists of walking up various ramps, banks, and pipes sideways, then turning 90° and riding down forward.
When walking up, we only go as far as we feel safe, at first maybe only to the lower quarter, later to halfway up, or depending on the type of ramp, even higher.
Banks can usually be walked up all the way to the top without any problems, whereas that’s not possible with pipes.
 Walking up a bank sideways
While walking up, we keep our knees deeply bent and consistently maintain the staggered stance we learned at the beginning.
Even when turning into the forward ride, we maintain the staggered stance and make sure to keep our center of gravity as low as possible to stay in control at all times.
5.2 Walking up and riding down backward
Once we’ve mastered walking up sideways and then riding down forward, it’s time to repeat the same exercise, only this time we ride down backward.
Again, we only walk up as far as we feel confident letting ourselves roll back down safely.
If this also works reliably, we move on to the final exercises before attempting the actual Drop In.
6. Riding up, standing sideways and riding down
The final step before moving on to the actual Drop In is similar to the exercise we practiced earlier.
This time, however, we don’t walk up the ramps, instead, we skate a short way up, turn sideways while still in motion, and then let ourselves roll back down again — once forward and once backward.
6.1 Riding up and riding down forward
We start by riding a short distance up the ramp forward, turning to stand sideways, and then immediately letting ourselves roll back down forward.
While doing so, we rotate 90° twice on the ramp.
 Skate up, stand sideways and depart
We repeat this exercise on as many different banks and pipes as possible to gain even more confidence and control.
6.2 Riding up and riding down backward
After turning sideways from riding up the ramp and then riding down forward, we repeat the exercise, only this time we ride down backward.
If we are afraid of this, we first let ourselves fall onto our pads on purpose a few times.
This helps us gain the confidence and security we need to eventually trust ourselves with the backward descent.
 Intentional falling
Once you’ve mastered all of these exercises, you’ll notice that you suddenly feel very secure on the ramps and have developed an exceptionally good sense of balance.
This new body awareness also helps you turn yourself in time during a fall, for example, during a Drop In, so that you land in a controlled manner on your protective gear.
7. The final Drop In – focus and execution
You’ve mastered all the previous intermediate steps and exercises?
Then you’re now ready for the final Drop In – almost!
Before riding down a ramp from the very top, as is the case with the Drop In, we should absolutely be able to ride up the respective ramp, bank, or pipe safely.
 Pulling yourself up the pipe
In the photo, you can see me (Daniel) pulling myself up a mini ramp, and that’s exactly what we should not do.
We should be able to skate all the way up the ramp on which we want to perform the Drop In, standing on our skates, without having to pull ourselves up or hold onto anything.
Once we’ve managed to skate all the way to the top of our chosen ramp, it’s time to perform the Drop In.
When you’re standing on top of the bank or pipe and want to drop into the ramp, you will probably feel fear, or at least a healthy amount of respect.
 Drop In – stand on the pipe
The first few times dropping into a bank or pipe require quite a bit of courage.
However, thanks to all the intermediate steps you practiced beforehand, this hurdle should be significantly smaller.
Still, I recommend doing your first Drop Ins from the middle of the ramp.
Do not stand at the edge where you could hold on to something sideways, such as a fence or other barriers.
 Don’t stand at the edge/handrails!
This is dangerous: if you hold on to something during the Drop In or let go too late, you might twist sideways and fall down the ramp at an angle.
So make sure to stand as close to the middle as possible, don’t hold on to anything, gather your courage and: Drop In!
During the Drop In, we focus on the riding surface of the pipe or bank.
So we look down, not forward.
This ensures that we lean far enough forward and don’t tip backward. Make sure to keep your center of gravity low and stay deeply bent in your knees.
 Focus on the riding surface
To perform the Drop In, we first place one skate on the coping.
We position the skate so that the coping sits centered under our foot — between the middle wheels (on fitness & urban skates) or in the groove (on aggressive skates).
For skates with three wheels, the foot should be positioned between the two rear wheels.
Next, we bend deeply into our knees and place the second skate right next to it on the coping. This step is usually the biggest mental hurdle.
Finally comes the decisive step into the riding surface:
We move one skate forward, direct our focus downward onto the ramp, and then let ourselves roll down in a controlled manner in the staggered stance (skating stance).
 Drop In – from the coping to the ramp
 Drop In – from the coping to the ramp
Another variation of the Drop In consists of not placing the second skate on the coping first, but instead setting it directly onto the riding surface and rolling down immediately.
Once you’ve overcome the initial fear, perform the Drop In as often as possible, and on as many different ramps as you can.
Start with a low bank, then a small pipe, and gradually work your way up step by step.
 Drop In – riding down
Once you can perform the Drop In safely, you can start looking forward again while doing it.
The downward gaze is no longer necessary, because your body automatically knows what to do.
Congratulations — you’ve made it this far!
You’re now perfectly prepared, and we’re sure that you’ve either already dared to try the Drop In or will definitely do so in your next session.
8. Behind the scenes – shooting day and impressions
It was early November 2025 when we created the photo and video footage for the Drop-In tutorial.
For this, we were at the skatepark in Weil am Rhein in Germany, located right at the tri-border area next to France and Switzerland.
 Daniel Lott – Skatepark Weil am Rhein
Although temperatures in early November were only around 5 °C, the sunshine and the movement kept it pleasantly warm, making it easy to skate in just a T-shirt.
The days were already much shorter at that time of year, but fortunately the daylight was still enough to film the entire tutorial.
Colorful leaves from the trees, which normally provide shade in the summer, were scattered everywhere.
 Skatepark Weil am Rhein in late autumn
The leaves created a beautiful backdrop and didn’t interfere with the filming.
However, one thing to watch out for: if the leaves underneath are still wet, it becomes extremely slippery and you can fall very easily, especially when taking a tight turn over wet leaves.
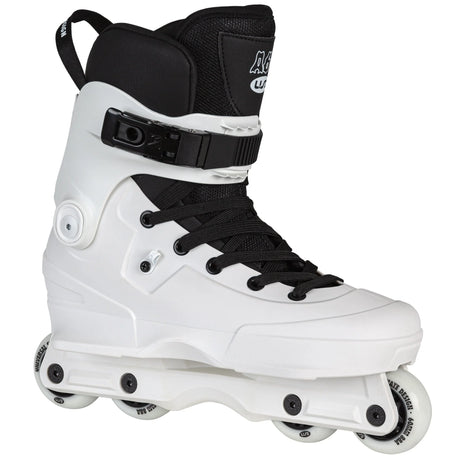
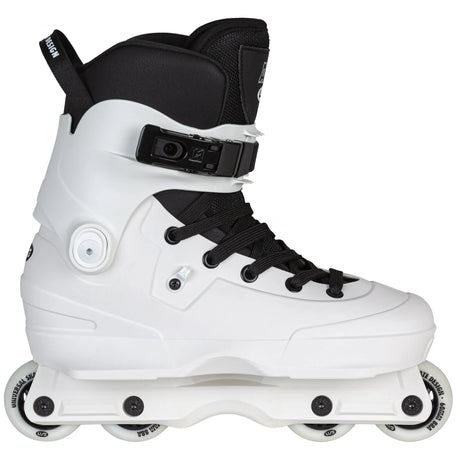
For the shoot, I (Daniel) used the following skating equipment:
- USD Aeon 60 Sam Crofts Pro aggressive inline skates
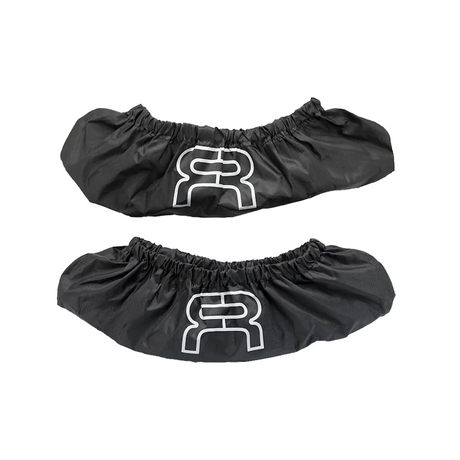
- MyFit Footies Low Cut 3 mm
- MyFit Skating Socks
- TSG Meta skate helmet
- Ennui Ave Elbow Gaskets
- Ennui Ave Knee Gaskets
- Ennui City Wrist Brace
- Ennui BLVD Crash Pants
For capturing the footage, we used the following equipment:
- For filming, we used a GoPro Hero Black 13 combined with the Crane M2 gimbal.
- For the photos, we used a Google Pixel 9.
- For the audio, especially for the live segments, we used the Røde Wireless Go II together with the GoPro Media Mod.
- In post-production, we work with various Adobe Creative Cloud programs, including Photoshop, Premiere, and Illustrator.
Since we get this question repeatedly, we want to address it right away:
From the initial idea to the execution, the editing of all the footage, the creation of the videos (trick clip, mini tutorial, and detailed tutorial), and this blog post, all of this requires several full working days.